Contents :
- 1. How do I insert a picture in Beamer?
- 2. Add figure caption in Beamer
- 3. Customize figure caption
- 4.Figure and text side by side LaTeX beamer
- 5. How to align an image inside a beamer frame?
- 6. Position an image arbitrarily inside a frame
- 7. Changing the opacity of an image in Beamer
- 8. Overlay specifications and figures
- 9. Wrapping text around an image
- 10. Writing text over an image
- 11. Image as a frame background
- 12. How to produce a title page with an image
- 13. Inserting subfigures in beamer
1. How do I insert a picture in Beamer?
In beamer, figures are inserted essentially in the same way as in any other LaTeX document, with very small differences. In LaTeX, we use the graphicx package to insert images (although in beamer we will not have to import it explicitly, since beamer does it for us), which provides the command:
\includegraphics{file}
where file is the file name (or the file path, if the image is not included in the
current working directory) that we want to insert.
The above command accepts a series of optional arguments, the most important ones being:
heightandwidthto scale the size of the figure.
When only one of these options is set, the other dimension is scaled so that the aspect ratio of the original image is preserved.
Other less common options are also provided:
anglecan be passed a rotation angle in degrees, and the image will be rotated this amount counter-clockwise,
keepaspectratiois a boolean that forces the image to preserve its aspect ratio.
But if you want to do very fancy things, like both rescaling and rotating an image, be aware that the order in which the options are given matters. The package graphicx interprets the keys from left to right; this means that rotating and then scaling is not the same as scaling and then rotating.
Illustrative example:
In the following example, you can see the difference:
% Rotate an image in Beamer
\documentclass{beamer}

% Theme choice
\usetheme{AnnArbor}

\begin{document}

\begin{frame}{First images in beamer}
\centering
    \includegraphics[width=4cm,angle=45]{Ques}
    \includegraphics[angle=45,width=4cm]{Ques}
\end{frame}

\end{document}
which produces:
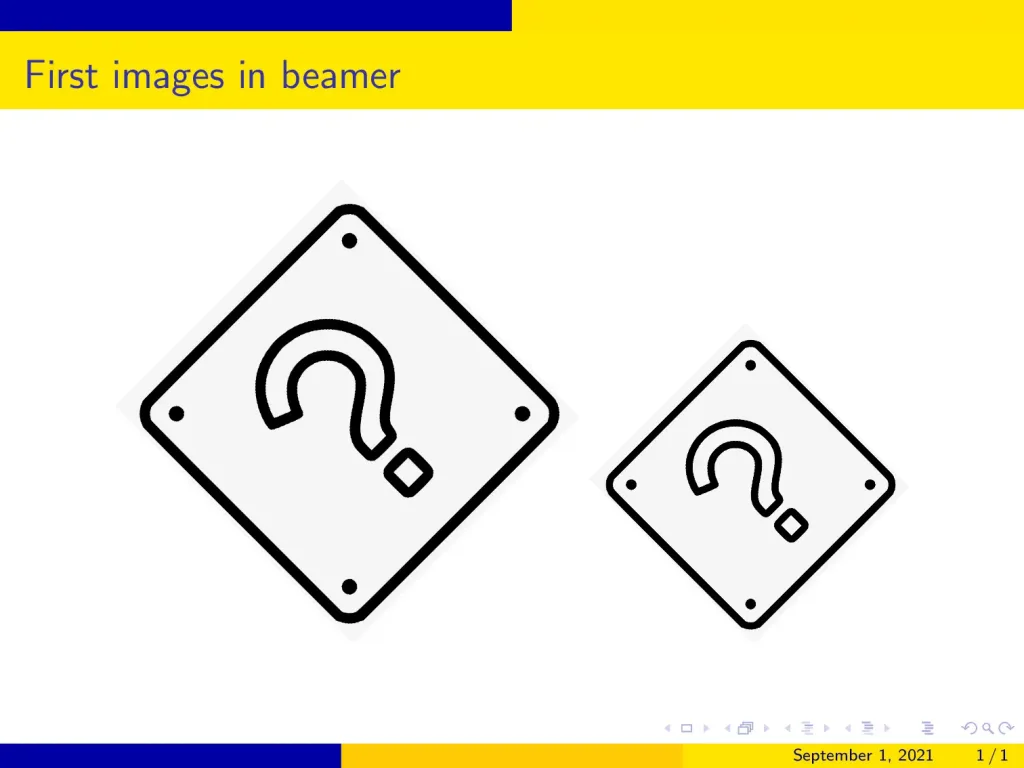
Observe how the two images are slightly different.
2. Add figure caption in Beamer
Although with this we have a totally functional way of inserting images, in practice we don’t insert them this way, since the image has neither a caption nor a way to reference it. It is more convenient to wrap the \includegraphics command inside the figure environment. This is a floating environment that lets us set a caption and a label, and also use position specifiers to control where the image will be placed. However, and this is the main point where beamer differs from other LaTeX documents, the position specifiers have no effect in beamer presentations. They are ignored, and the image is simply placed in the same position as in the source code.
Illustrative example:
In the following example, we show how to use the figure environment to insert images:
% Add numbered caption in Beamer
\documentclass{beamer}
% Theme choice
\usetheme{AnnArbor}
% set captions with numbers
\setbeamertemplate{caption}[numbered]
\begin{document}
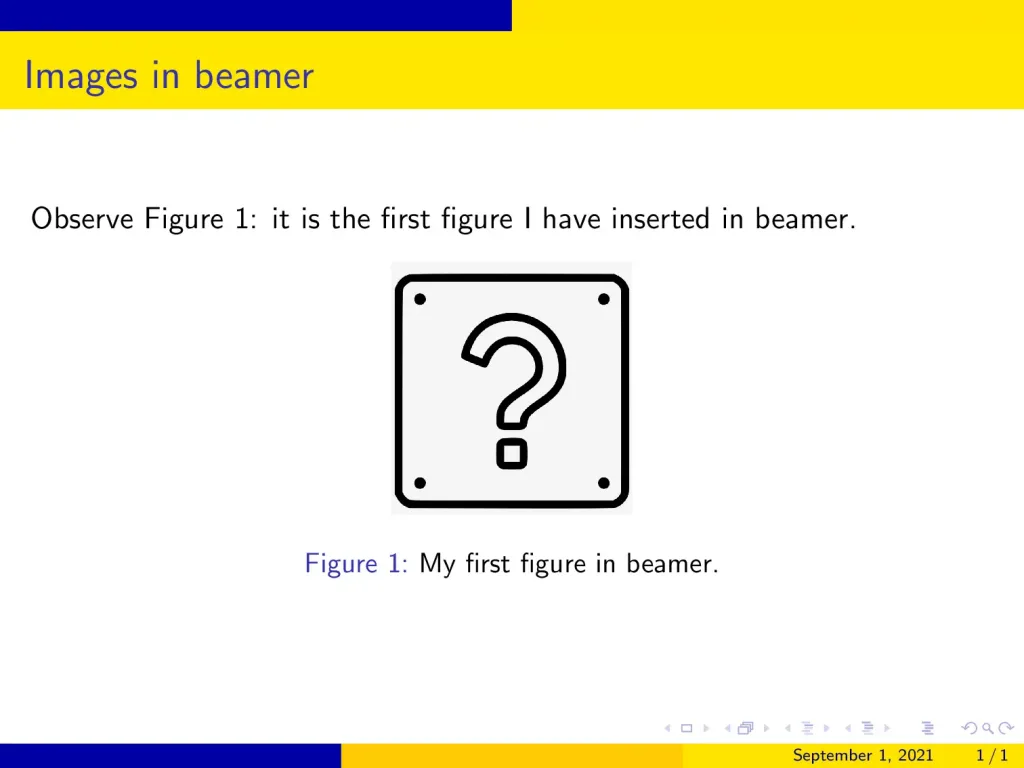
\begin{frame}{Images in beamer}
Observe Figure \ref{fig:question}: it is the
first figure I have inserted in beamer.
\begin{figure}
\centering
\includegraphics[width=0.25\textwidth]{Ques}
\caption{My first figure in beamer.}
\label{fig:question}
\end{figure}
\end{frame}
\end{document}
Compiling this code yields:
Observe that I have added the declaration:
\setbeamertemplate{caption}[numbered]
in the preamble. The reason for this is that, by default, beamer does not number
the pictures (this is another key difference with the usual LaTeX documents), but since I wanted the figure numbered to reference it, I had to change how the caption looks in the beamer template.
Usually, you will not need the number, since every frame will contain one, at most two, images to be explained, and it is not convenient to use numbers as references throughout a presentation (as it is in a document, where you can easily go back and forth).
3. Customize figure caption
We have already seen how to slightly change the caption appearance, by adding a number to it or not. But we can further customize it by changing its font size and color. The following example shows the beamer theme options that we have to modify in order to customize our caption:
% Customize figure caption in Beamer
\documentclass{beamer}

% Theme choice
\usetheme{AnnArbor}

% customize the caption
\setbeamerfont{caption}{size=\large}
\setbeamercolor{caption}{fg=blue}
\setbeamercolor{caption name}{fg=red}

\begin{document}

\begin{frame}{Customized caption}

\begin{figure}
\centering
    \includegraphics[width=0.25\textwidth]{Ques}
    \caption{My first figure in beamer.}
    \label{fig:question}
\end{figure}

\end{frame}

\end{document}
which yields the following result:

4. Figure and text side by side LaTeX beamer
It is common to write a frame with a figure next to a certain explanation. For this purpose, we can use beamer’s columns environment, as it is done in the following example:
% Text and figure side by side
\documentclass{beamer}
% Theme choice
\usetheme{AnnArbor}
\begin{document}
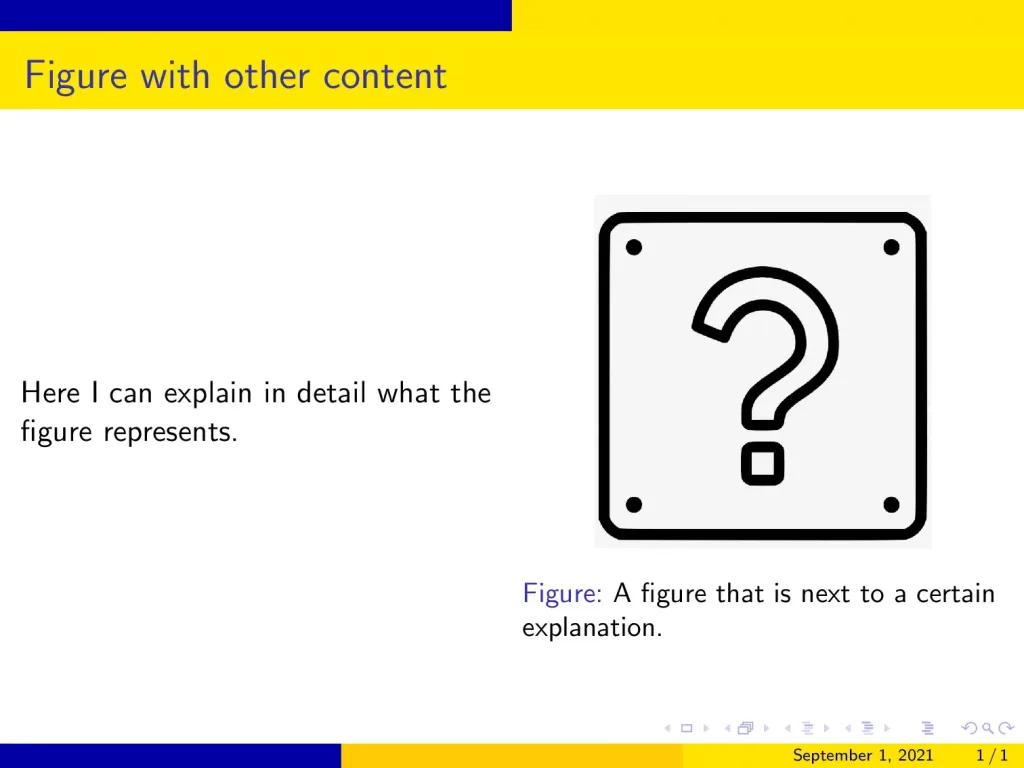
\begin{frame}{Figure with other content}
\begin{columns}
% Column 1
\begin{column}{0.5\textwidth}
Here I can explain in detail what the figure represents.
\end{column}
% Column 2
\begin{column}{0.5\textwidth}
\begin{figure}
\centering
\includegraphics[width=0.7\textwidth]{Ques.png}
\caption{A figure that is next to a certain explanation.}
\end{figure}
\end{column}
\end{columns}
\end{frame}
\end{document}
The frame produced by this code is shown below:
Observe that the \textwidth command in the line:
\begin{column}{0.5\textwidth}
represents the whole text width of the frame, whereas the \textwidth in the \includegraphics declaration only represents the text width of the column, which is half of the total text width.
This means that, although we pass to the image the option width=0.7\textwidth, it doesn’t take 70% of the frame, but instead, it takes 70% of the column.
5. How to align an image inside a beamer frame?
Almost all of the time we have been using the figure environment to wrap the \includegraphics command so that beamer treats the images as floating objects. However, we can also use the raw \includegraphics command, and align it using pure TeX filling commands. The reason behind this is that the \includegraphics command just creates a TeX’s box with the image inside it; that is, for the TeX system it is just as any other letter.
To easily centre the image, as we have been doing throughout all the tutorial, we can use the \centering command just before \includegraphics. However, if we want to left-align the image, we will have to use the command \hfill just after including the image, so that all the horizontal space after the image is filled by TeX.
Let me show you a complete minimal example of how this would work:
% Right aligned figure
\documentclass{beamer}

% Theme choice
\usetheme{AnnArbor}

\begin{document}

\begin{frame}{Right-aligned figure}
    \hfill
    \includegraphics[width=0.2\textwidth]{Ques.png}
\end{frame}

\end{document}
Compiling this code yields:

As you may have already guessed, if instead of filling the left space we fill the right space (that is, we put the \hfill command after the \includegraphics command) what we get is a left aligned figure.

6. Position an image arbitrarily inside a frame
This part is considered in this step-by-step tutorial “Precise positioning of an image in Beamer“. It uses TikZ to position images at any position relative to the frame.
7. Changing the opacity of an image in Beamer
Although we are not going to dive into all of TikZ possibilities, here we are going to explore another functionality that the tikzpicture environment offers: changing the opacity of a figure.
This option is especially interesting when combined with beamer overlay specifications because you can put an image with half its opacity and totally uncover it once you are going to actually talk about it. Even further, you could even decrease the image’s transparency as you get closer to talking about it; this would look very cool.
The following example shows a small implementation of this idea:
% Opacity of images in Beamer
\documentclass{beamer}

% Theme choice
\usetheme{AnnArbor}

% Required package
\usepackage{tikz}
\begin{document}

\begin{frame}{Opacity of an image}

\begin{tikzpicture}[remember picture, overlay]
\onslide<1>
\node
[
    left=1cm,
    opacity=0.3] at (current page.east)
{
    \includegraphics[width=0.3\textwidth]{Ques.png}
};

\onslide<2>
\node
[
    left=1cm,
    opacity=1] at (current page.east)
{
    \includegraphics[width=0.3\textwidth]{Ques.png}
};
\end{tikzpicture}
\end{frame}

\end{document}
which yields the following slides:


In the above code, we placed the image 1 cm far from the left side of the frame using absolute positioning provided by TikZ. The first version of the image has 30% opacity and the second one has 100% opacity.
8. Overlay specifications and figures
However, if we don’t want such a fancy implementation of opacity, and just want the image to be shown on a given slide, beamer offers us the possibility to pass an overlay specification to the \includegraphics command. For example, the declaration:
\includegraphics<2-4>[width=\textwidth]{image.png}
will make the image.png file appear only on slides 2 to 4. More details are presented in this lesson: “Creating Overlays in Beamer“.
9. Wrapping text around an image
In beamer, we can wrap text around a figure, but not with beamer built-in commands. We have to use the external wrapfig package. In the following example, we use the environment wrapfigure that this package provides to wrap text around a figure:
% Wrapping text around image in beamer
\documentclass{beamer}

% Theme choice
\usetheme{AnnArbor}

% Required package
\usepackage{wrapfig}

% to generate some dummy text
\usepackage{blindtext}

\begin{document}

\begin{frame}{How to wrap text around a graphic.}

\begin{wrapfigure}{r}{0.5\textwidth}
    \centering
    \includegraphics[width=0.2\textwidth]{Ques.png}
    \caption{Wrapping text around figures}
\end{wrapfigure}

\small \blindtext
\end{frame}

\end{document}
which produces the following output:

Observe that the wrapfigure environment works as the figure environment, in the sense that it makes the image floating, and you can add a \caption and a \label to the figure. However, this command accepts two mandatory arguments:
- the first one is to select where we want the image, it can be
rorl, that is, right or left; - the second one is the width to be reserved for the image.
10. Writing text over an image
This can also be done inside a beamer frame, but for that purpose, we have to load the versatile TikZ package. In the following example, we illustrate an easy way to do it:
% Text over an image in beamer
\documentclass{beamer}

% Theme choice
\usetheme{AnnArbor}

% Required package
\usepackage{tikz}

\begin{document}

\begin{frame}{Text over an image}

\centering
\begin{tikzpicture}
\node (image)
{
    \includegraphics[width=0.7\textwidth]{nature1.png}
};

\node
[
    fill=teal,
    align=center,
    text=white,
    font={\huge\bfseries}
] at (image.center) {A beautiful photo!};

\end{tikzpicture}
\end{frame}

\end{document}
Compiling this code yields:

Let’s dissection the commands used in this example:
- First, we insert an image inside the ti
kzpictureenvironment as a node called(image). - Then, we create a second node where its content is aligned at centre, with options to use a white, huge and bold font. Moreover, we added the option
fill=tealto fill the node with a teal color. - The key is that we position this node at the centre of the previous one; this position is easily identified with
(image.center). - Finally, we create the contents of the node itself, which are just the text string
A beautiful photo!.
11. Image as a frame background
It is easy to use an image as a frame background in beamer, both globally and locally. In the following example, we put both into practice:
% Background image (local and global options)
\documentclass{beamer}

% Theme choice
\usetheme{AnnArbor}

% global background must be put in the preamble
\setbeamertemplate{background canvas}
{%
    \includegraphics[width=\paperwidth, height=\paperheight]{nature1.png}%
}


\begin{document}

\begin{frame} {Default background}

\end{frame}


% to use a specific background for a frame or a series
% of frames, we have to enclose the command and the frames
% inside the same group
{
\setbeamertemplate{background canvas}
    {%
        \includegraphics[width=\paperwidth,height=\paperheight]{nature2.png}
    }

\begin{frame} {Special background}

\end{frame}
}

\end{document}
which yields:


You can see that the procedure is very intuitive: we just change the background canvas option of the beamer theme to the image that we want to use as background. However, when importing it we should make sure that the size is adjusted to the frame size; otherwise, we will get undesired results.
12. How to produce a title page with an image
To add an image to the title page and get something similar to the following illustration, I recommend the following step-by-step tutorial: “How to add an image to the title page in beamer?“.

13. Inserting subfigures in beamer
With the subcaption package, we can build floating figure environments that contain more than one image, each with its corresponding caption and label. The following example shows how to do so:
% Subfigures in Beamer
\documentclass{beamer}

% Theme choice
\usetheme{AnnArbor}

% Required package
\usepackage{subcaption}

% so that the captions are numerated
\setbeamertemplate{caption}[numbered]

\begin{document}

\begin{frame}{Subfigures in Beamer}

You can see in Figure \ref{fig:images} that I have inserted two images, Figures \ref{fig:nature1} and \ref{fig:nature2}, that I can reference independently.

\begin{figure}
\centering
    \begin{subfigure}[t]{0.4\textwidth}
        \includegraphics[width=0.5\textwidth]{nature2.png}
        \caption{Image of the nature V1.}
        \label{fig:nature1}
    \end{subfigure}
    \begin{subfigure}[b]{0.4\textwidth}
        \includegraphics[width=\textwidth]{nature1.png}
        \caption{Image of the nature V2.}
        \label{fig:nature2}
    \end{subfigure}
\caption{Two images I want to insert.}
\label{fig:images}
\end{figure}

\end{frame}

\end{document}
Here is the obtained result:

- As you can see, first we create a usual figure environment with its corresponding
\captionand\label. - Then, inside of it, for every subfigure we create a
subfigureenvironment, which works essentially as a figure environment, with its corresponding\includegraphicsto insert the image, its\captionand its\label. - However, this environment takes a mandatory argument, which is the space to be allocated for the corresponding image (in the previous example, 0.4\textwidth) and also an optional argument, which determines the positioning of the image inside its allocated space. This argument can be either
c,torb, standing for centre, top and bottom. - By default the image is centred, but in the previous example I have used
tandb, so that you can see the difference between the two options. - As you can see, different labels enable us to reference either each one of the subfigures or the figure as a whole.
Conclusion
- In this lesson, we have addressed a lot of possible scenarios regarding the use of figures that you may face when writing your presentation. However, the options offered by beamer are inscrutable, and you can always combine what you have learned here to produce new and surprising results.
- If you want to learn more about graphics and beamer, I strongly suggest you
learn about the tikz package, which is the main graphical tool used in LaTeX
documents. In the tutorial you have had a small taste of what this package is
capable to do; but it is just a very small portion of the cake. I would recommend
you read tikz’s documentation, but since it is a +1000 page document, maybe
it is not the best place to start. However, in this page you can find a nice set
of tikz tutorials, that will teach you in a much more didactic way how to use
this powerful tool.